Free Slice Title Animation Davinci Resolve
German – Kostenloser Schnitt – Titel für Davinci Resolve
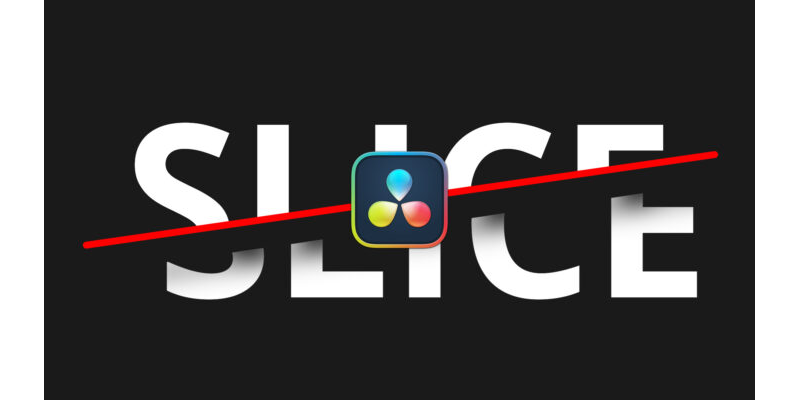
Dieser Kostenlose Titel Effket schneidet sich selbst entzwei. Dabei kannst du die Rotation und den Drift des abgeschnittenen Stücks frei einstellen.
Installation des kostenlosen unendlichen Dropshadow Title
Mit DR18 oder neuer installiert einfach doppelt anklicken.
Oder Ziehe die drfx Datei in die Nodearea in Fusion (Davinci Resolve 17)
Wie man sowas erstellt:
Anwendung
- Suche in der Effectlibary nach „Slice“
- Ziehe den Titel in die Timeline über einen Clip.
- Passe die Parameter im Inspector an in dem du auf den Title clickst.
- Geschwindigkeit der Animation lässt sich über den Timing Tab steuern.
Lizensbedingungen:
Dieses kostenlose Preset kannst du gerne für kommerzelle und private Projekte nutzen. Der Weiterverkauf der Presets ist nicht gestattet.
Du musst mich auch nicht erwähnen, aber es würde mir natürlich helfen, wenn du das tust.
English – Free Slice Titles for Davinci Resolve
How I Created this: (still in the Making)
Installation of the Free Title Template
If you have Davinci Resolve 18 or newer installed, just double click the drfx File.
Or Drag the drfx File into the Node Area in Fusion.
How To Use the free Slice Title Preset:
- Search for „Slice“ in your Effectlibary under Titles
- Drag the Title onto the Timeline
- Adjust the Parameters in the Inspector by clicking on the Title Clip
- Adjust the Speed Animation in the Timing Tab
Licence:
You can freely Use this Preset also in non-commercial and commercial Projects but not sell it or provide this preset elswhere as a Download.
No need to credit me but it helps.
- Version
- Download 8117
- Dateigröße 2.23 KB
- Datei-Anzahl 1
- Erstellungsdatum 18. Februar 2023
- Zuletzt aktualisiert 25. Februar 2023

Infinite Dropshadow Title Template Davinci Resolve
German – Kostenloser Dropshadow Titel für Davinci Resolve
Installation des kostenlosen unendlichen Dropshadow Title
Mit DR17 oder neuer installiert einfach doppelt anklicken.
Oder Ziehe die drfx Datei in die Nodearea in Fusion (Davinci Resolve 17)
Wie man sowas erstellt: https://youtu.be/H7NC5NI_JfY
Falls du ein Popup bekommst in dem Steht „File could not be installed“ copier das drfx File einfach in den Templates Ordner.
- Geh in Fusion
- Öffne die Effektlibary
- Navigiere zu Templates
- Klicke auf die 3 Punkte am oberen rechten Rand des Effeklibary Kastens
- Klicke auf „Show Folder“
- Kopiere die drfx datei in diesen Order
- Starte Davinci Resolve neu
Anwendung
- Suche in der Effectlibary nach „Dropshadow“
- Ziehe den Titel in die Timeline über einen Clip.
- Passe die Parameter im Inspector an in dem du auf den Title clickst.
Lizensbedingungen:
Dieses kostenlose Preset kannst du gerne für kommerzelle und private Projekte nutzen. Der Weiterverkauf der Presets ist nicht gestattet.
Du musst mich auch nicht erwähnen, aber es würde mir natürlich helfen, wenn du das tust.
English – Free Infinite Dropshadow Titles for Davinci Resolve
How I Created this: https://youtu.be/H7NC5NI_JfY
Installation of the Free Title Template
If you have Davinci Resolve 17 or newer installed, just double click the drfx File.
Or Drag the drfx File into the Node Area in Fusion. (Davinci Resolve 17.2)
In case that you get an Error saying that the file could not be installed, just copy the drfx file into the Templayte folder.
- Go into Fusion
- Click on Effectlibary
- Navigate to Templates
- click on the 3 dots in the upper right Corner of the Effectlibary Frame
- Click „Show folder“
- This is the Folder you need to copy the drfx file to
- Restart Davinci resolve
How To Use the free Transition Preset:
- Search for „wedding“ in your Effectlibary
- Drag the Title onto the Timeline
- Adjust the Parameters in the Inspector by clicking on the Transition
Licence:
You can freely Use this Preset also in non-commercial and commercial Projects but not sell it or provide this preset elswhere as a Download.
No need to credit me but it helps.
- Version
- Download 4123
- Dateigröße 2.23 KB
- Datei-Anzahl 1
- Erstellungsdatum 8. Januar 2023
- Zuletzt aktualisiert 8. Januar 2023

Free Floral Wedding Titles Davinci Resolve 17
German – Kostenlose florale Hochzeits Titel für Davinci Resolve
Dieses Pack ist ein kleiner Auszug aus dem großen Wedding Titlepack welches du unter Produkte findest
Installation der kostenlosen Hochzeitstitelanimation
Mit DR17 installiert einfach doppelt anclicken.
Oder Ziehe die drfx Datei in die Nodearea in Fusion (Davinci Resolve 17)
Installationstutorial: https://youtu.be/yEeDGOARXKA
Falls du ein Popup bekommst in dem Steht „File could not be installed“ copier das drfx File einfach in den Templates Ordner.
- Geh in Fusion
- Öffne die Effektlibary
- Navigiere zu Templates
- Klicke auf die 3 Punkte am oberen rechten Rand des Effeklibary Kastens
- Klicke auf „Show Folder“
- Kopiere die drfx datei in diesen Order
- Starte Davinci Resolve neu
Anwendung
- Suche in der Effectlibary nach „Wedding“
- Ziehe den Titel in die Timeline über einen Clip.
- Passe die Parameter im Inspector an in dem du auf den Title clickst.
Lizensbedingungen:
Dieses kostenlose Preset kannst du gerne für kommerzelle und private Projekte nutzen. Der Weiterverkauf der Presets ist nicht gestattet.
Du musst mich auch nicht erwähnen, aber es würde mir natürlich helfen, wenn du das tust.
English – Free floral Wedding Titles for Davinci Resolve
This free Wedding Title pack is just a portion of the bigger Wedding Titlepack you can find under products.
Installation of the Free Wedding Titlepack
Just double click the drfx File.
Or Drag the drfx File into the Node Area in Fusion. (Davinci Resolve 17.2)
In case that you get an Error saying that the file could not be installed, just copy the drfx file into the Templayte folder.
- Go into Fusion
- Click on Effectlibary
- Navigate to Templates
- click on the 3 dots in the upper right Corner of the Effectlibary Frame
- Click „Show folder“
- This is the Folder you need to copy the drfx file to
- Restart Davinci resolve
How To Use the free Transition Preset:
- Search for „wedding“ in your Effectlibary
- Drag the Title onto the Timeline
- Adjust the Parameters in the Inspector by clicking on the Transition
Licence:
You can freely Use this Preset also in non-commercial and commercial Projects but not sell it or provide this preset elswhere as a Download.
No need to credit me but it helps.
- Version
- Download 9894
- Dateigröße 2.23 KB
- Datei-Anzahl 1
- Erstellungsdatum 14. Februar 2022
- Zuletzt aktualisiert 22. Juli 2022

Free Christmas Title Davinci Resolve 17
German – Kostenlose Weihnachtsanimation Davinci Resolve
Das Video zur kostenlosen Weihnachtstitel Animation kannst du gerne hier ansehen: https://youtu.be/eGqvC3RaZRI
Installation der kostenlosen Weihnachts Title Animation
Mit DR17 installiert einfach doppelt anclicken.
Oder Ziehe die drfx Datei in die Nodearea in Fusion (Davinci Resolve 17)
Installationstutorial: https://youtu.be/yEeDGOARXKA
Falls du ein Popup bekommst in dem Steht „File could not be installed“ copier das drfx File einfach in den Templates Ordner.
- Geh in Fusion
- Öffne die Effektlibary
- Navigiere zu Templates
- Klicke auf die 3 Punkte am oberen rechten Rand des Effeklibary Kastens
- Klicke auf „Show Folder“
- Kopiere die drfx datei in diesen Order
- Starte Davinci Resolve neu
Anwendung
- Suche in der Effectlibary nach „MC“
- Ziehe den Titel in die Timeline über einen Clip.
- Passe die Parameter im Inspector an in dem du auf den Title clickst.
Lizensbedingungen:
Dieses kostenlose Preset kannst du gerne für kommerzelle und private Projekte nutzen. Der Weiterverkauf der Presets ist nicht gestattet.
Du musst mich auch nicht erwähnen, aber es würde mir natürlich helfen, wenn du das tust.
English – Free Christmas Title Davinci Resolve
Spread Christmas Joy with this free Title Preset
Installation of the Free Christmas Title
Just dobble click the drfx File.
Or Drag the drfx File into the Node Area in Fusion. (Davinci Resolve 17.2)
In case that you get an Error saying that the file could not be installed, just copy the drfx file into the Templayte folder.
- Go into Fusion
- Click on Effectlibary
- Navigate to Templates
- click on the 3 dots in the upper right Corner of the Effectlibary Frame
- Click „Show folder“
- This is the Folder you need to copy the drfx file to
- Restart Davinci resolve
How To Use the free Transition Preset:
- Search for „MC“ in your Effectlibary
- Drag the Title onto the Timeline
- Adjust the Parameters in the Inspector by clicking on the Transition
Licence:
You can freely Use this Preset also in non-commercial and commercial Projects but not sell it or provide this preset elswhere as a Download.
No need to credit me but it helps.
- Version
- Download 3386
- Dateigröße 2.23 KB
- Datei-Anzahl 1
- Erstellungsdatum 23. Dezember 2021
- Zuletzt aktualisiert 20. Januar 2022
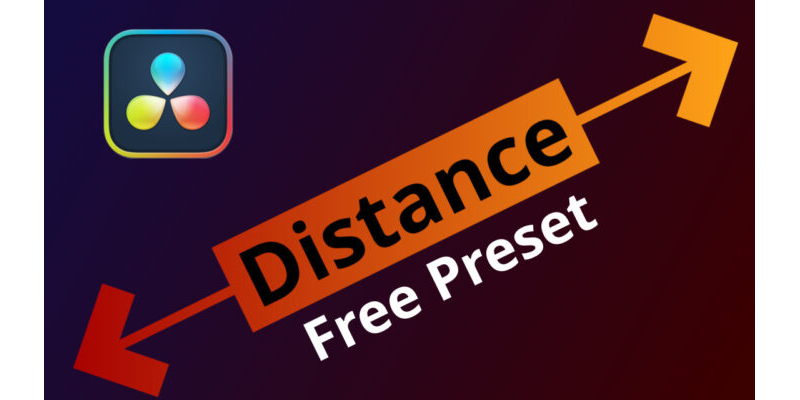
Dynamic Distance Meter Title Davinci Resolve


German
Dieses Prestet für deine Titel kannst du frei verwenden, jedoch nicht auf anderen Websiten zum Download oder verkauf anbieten.
Du kannst in diesem Preset viel lernen:
- Winkelfunktionen für Automatische Ausrichtung
- Text+ Expressions für dynamische Textanimationen
- Textexpression für das verbinden von Variablen mit Text
- AnimCurveModifier
- Shapetools
Installation der Animation:
Du musst die DRFX-Datein doppelt anklicken:
Installationsanleitung:
https://youtu.be/yEeDGOARXKA
Englisch
You can freely Use this Preset but not sell it or provide other downloadlinks.
There is a lot to learn in this different style of Callout Title Template for Davinci Resolve 17
- Angle Funktion for automatic alignment
- Text+ expressons for dynamic changing Content
- Text+ expressions for working with variables
- How to use the Animcurve Modifier for Call outs
- Shapetools and how to use them
For Installation:
You just need to double Click the drfx file.
If you have Troubles installing:
- Version
- Download 5154
- Dateigröße 2.23 KB
- Datei-Anzahl 1
- Erstellungsdatum 17. November 2021
- Zuletzt aktualisiert 13. Januar 2022

Free Ribbon Animation
Autosize Slanted Boxed Text
German
Dieses Prestet für deinen Titel kannst du frei verwenden.
Installation der Animation:
Ziehe die drfx Datei in die Nodearea in Fusion (Davinci Resolve 17.2)
Falls du ein Popup bekommst in dem Steht „File could not be installed“ copier das drfx File einfach in den Templates Ordner.
- Geh in Fusion
- Öffne die Effektlibary
- Navigiere zu Templates
- Klicke auf die 3 Punkte am oberen rechten Rand des Effeklibary Kastens
- Klicke auf „Show Folder“
- Kopiere die drfx datei in diesen Order
- Starte Davinci Resolve neu
Englisch
You can freely Use and modify this Preset.
For Installation:
Drag the drfx File into the Node Area in Fusion. (Davinci Resolve 17.2)
In case that you get an Error saying that the file could not be installed, just copy the drfx file into the Templayte folder.
- Go into Fusion
- Click on Effectlibary
- Navigate to Templates
- click on the 3 dots in the upper right Corner of the Effectlibary Frame
- Click „Show folder“
- This is the Folder you need to copy the drfx file to
- Restart Davinci resolve
- Version
- Download 3867
- Dateigröße 27.16 KB
- Datei-Anzahl 1
- Erstellungsdatum 14. Juli 2021
- Zuletzt aktualisiert 21. Juli 2021
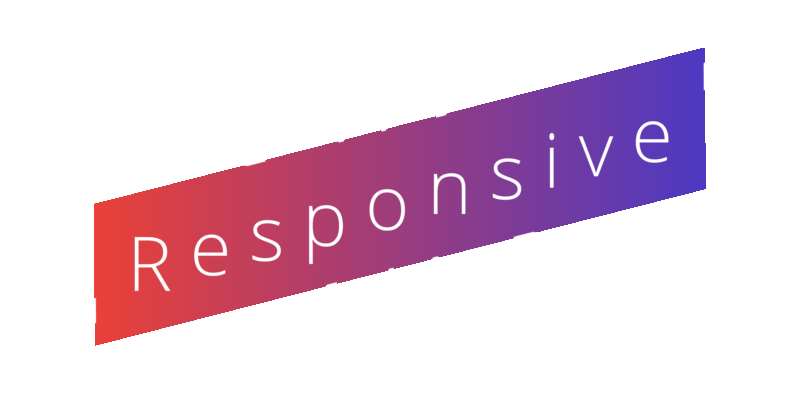
Slanted Text Responsive Boxanimation
Autosize Slanted Boxed Text
German
Dieses Prestet für deinen Titel kannst du frei verwenden.
Installation der Animation:
Ziehe die drfx Datei in die Nodearea in Fusion (Davinci Resolve 17.2)
Falls du ein Popup bekommst in dem Steht „File could not be installed“ copier das drfx File einfach in den Templates Ordner.
- Geh in Fusion
- Öffne die Effektlibary
- Navigiere zu Templates
- Klicke auf die 3 Punkte am oberen rechten Rand des Effeklibary Kastens
- Klicke auf „Show Folder“
- Kopiere die drfx datei in diesen Order
- Starte Davinci Resolve neu
Englisch
You can freely Use and modify this Preset.
For Installation:
Drag the drfx File into the Node Area in Fusion. (Davinci Resolve 17.2)
In case that you get an Error saying that the file could not be installed, just copy the drfx file into the Templayte folder.
- Go into Fusion
- Click on Effectlibary
- Navigate to Templates
- click on the 3 dots in the upper right Corner of the Effectlibary Frame
- Click „Show folder“
- This is the Folder you need to copy the drfx file to
- Restart Davinci resolve
- Version
- Download 3746
- Dateigröße 27.16 KB
- Datei-Anzahl 1
- Erstellungsdatum 7. Juli 2021
- Zuletzt aktualisiert 21. Juli 2021
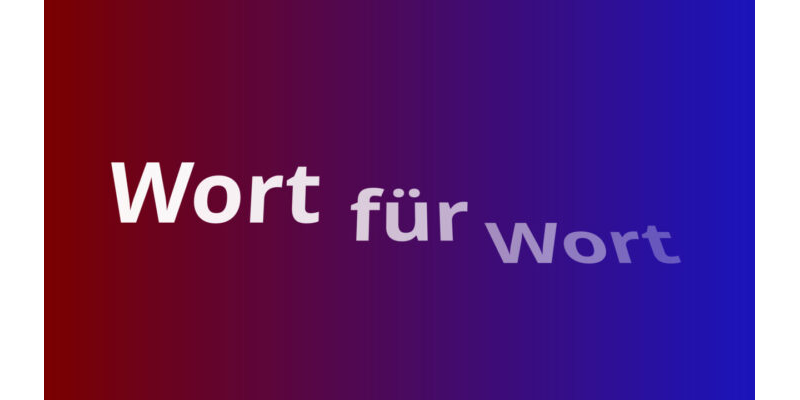
Wort für Wort Title
Youtube Tutorial https://youtu.be/WvwVj1vJyCg
German
Dieses Prestet für deine Titel kannst du frei verwenden.
Installation der Animation:
Du musst die Settings-Datein in folgenden Ordner Kopieren:
C:UsersDEIN-NAMEAppDataRoamingBlackmagic DesignDaVinci ResolveSupportFusionTemplatesEditTitles
Alternativ findest du den Ornder auch wenn du:
- Davinci Resolve aufmachst
- in Fusion gehst
- Auf Effectslibary clickst
- zu Edit Templates > Titles Navigierst
- Auf die drei Punkte oben kickst und:
- Show Folder anklickst
Englisch
You can freely Use and modify this Preset.
For Installation:
You need to copy the Settingsfile into this folder:
C:UsersYournameAppDataRoamingBlackmagic DesignDaVinci ResolveSupportFusionTemplatesEditTitles
Alternativly find the Folder by:
- Open Davinci Resolve
- go into Fusion
- click on Effectslibary
- Navigate to Edit Templates > Titles
- Click on the 3 dots in the upper right corner
- click Show Folder
- Version
- Download 5348
- Dateigröße 2.23 KB
- Datei-Anzahl 1
- Erstellungsdatum 20. April 2021
- Zuletzt aktualisiert 20. April 2021
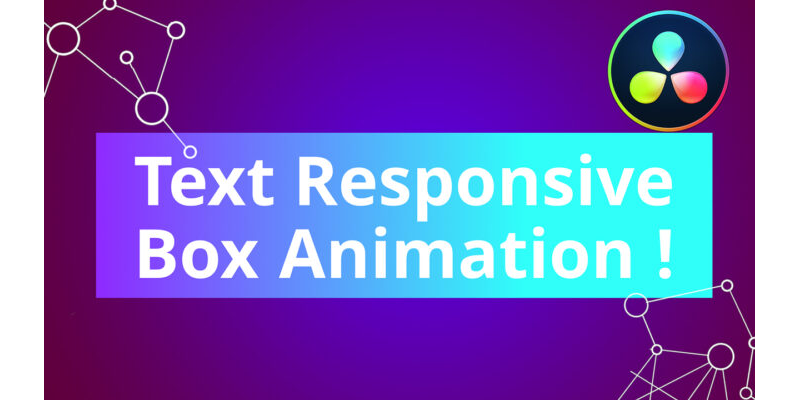
Text Responsive Boxanimation
Autosize Text Box
German
Installation der kostenlosen Text Box Animation
Mit DR17 installiert einfach doppelt anclicken.
Oder Ziehe die drfx Datei in die Nodearea in Fusion (Davinci Resolve 17)
Installationstutorial: https://youtu.be/yEeDGOARXKA
Falls du ein Popup bekommst in dem Steht „File could not be installed“ copier das drfx File einfach in den Templates Ordner.
- Geh in Fusion
- Öffne die Effektlibary
- Navigiere zu Templates
- Klicke auf die 3 Punkte am oberen rechten Rand des Effeklibary Kastens
- Klicke auf „Show Folder“
- Kopiere die drfx datei in diesen Order
- Starte Davinci Resolve neu
Anwendung
- Suche in der Effectlibary nach „responsive“
- Ziehe den Titel in die Timeline über einen Clip.
- Passe die Parameter im Inspector an in dem du auf den Title clickst.
Lizensbedingungen:
Dieses kostenlose Preset kannst du gerne für kommerzelle und private Projekte nutzen. Der Weiterverkauf der Presets ist nicht gestattet.
Du musst mich auch nicht erwähnen, aber es würde mir natürlich helfen, wenn du das tust.
English
Simple Text Box with automatic Sizing.
Installation of the Free Christmas Title
Just dobble click the drfx File.
Or Drag the drfx File into the Node Area in Fusion. (Davinci Resolve 17.2)
In case that you get an Error saying that the file could not be installed, just copy the drfx file into the Templayte folder.
- Go into Fusion
- Click on Effectlibary
- Navigate to Templates
- click on the 3 dots in the upper right Corner of the Effectlibary Frame
- Click „Show folder“
- This is the Folder you need to copy the drfx file to
- Restart Davinci resolve
How To Use the free Transition Preset:
- Search for „responsive“ in your Effectlibary
- Drag the Title onto the Timeline
- Adjust the Parameters in the Inspector by clicking on the Transition
Licence:
You can freely Use this Preset also in non-commercial and commercial Projects but not sell it or provide this preset elswhere as a Download.
No need to credit me but it helps.
- Version
- Download 4764
- Dateigröße 27.16 KB
- Datei-Anzahl 1
- Erstellungsdatum 4. März 2021
- Zuletzt aktualisiert 20. Januar 2022

Responsive Call Out Titel DR17
1 Callout Multiple Ways


German
Dieses Prestet für deinen Callout Titel kannst du frei verwenden.
Dieser Callout Titel ist ultimativ Flexibel. Du kannst die Form und Position ändern, Logos und Bilder einfügen und kannst in diesem Call Out sogar die Richtung drehen indem du den Endpunkt Verschiebst.
Lad dir einfach das Settingsfile runter und lade es in Fusion auf einen Clip oder einen Adjustment Clip. Achte dabei dass deine Startframe anzahl 0 ist.
Du kannst es dir auch in den Fusion Effects Speichern um es auf einen Solid oder Adjustment Clip anzuwenden.
Englisch
You can freely Use and modify this Preset.
This Callout is highly flexible. You can change the Form and Position of the Points, insert Logos and Pictures and you can even Turn that Title on the Other Side just by sliding the Endpoint in the opposite direction.
Drag it into Fusion. Make shure to Start at Frame 0 otherwise you need to Move Keyframes.
You can also save it into your Effects Folder to drag onto a Solid or Fusion Composition/Adjustment Clip.
- Version
- Download 5813
- Dateigröße 68.44 KB
- Datei-Anzahl 1
- Erstellungsdatum 27. Januar 2021
- Zuletzt aktualisiert 16. April 2021
- 1
- 2
